Your cart is currently empty!
How To Clean Dirty Logs For The Sawmill
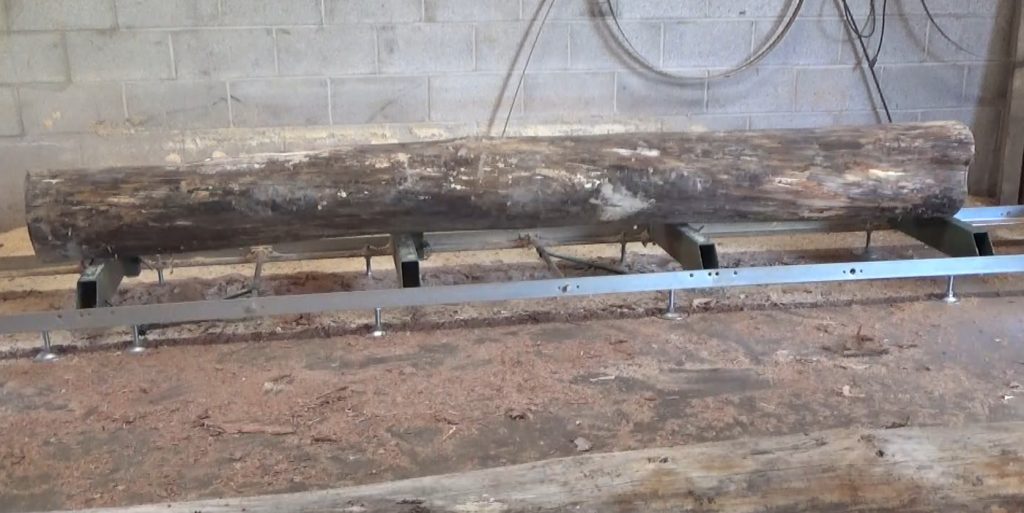
We buy sawmill reject logs. These are logs that have been rejected by the big mills due to flaws that make the logs unfit for lumber. These logs get put aside and neglected for years. This allows insects and fungi to enter the logs and cause beautiful and rare colors and patterns to form inside the wood.
But there is a down side to these logs. They are often very dirty. They are mud caked and loaded with stones, dirt and gravel. This has to be removed before the log can be run on the bandsaw mill. Any piece of dirt can dull a blade quickly. A filthy log would ruin a blade in minutes.
I have tried various ideas for cleaning logs before sawing them on the mill. We do not have a source of running water at the warehouse so power washing is out of the question. And embedded stones and gravel would likely not be removed anyway so a close inspection of each log would still be necessary.
I have used hand held wire brushes, brooms and even an ax to remove bark from a log, if it was still on. I have used a draw knife to remove bark as well. All of these options are quite tedious and time consuming.
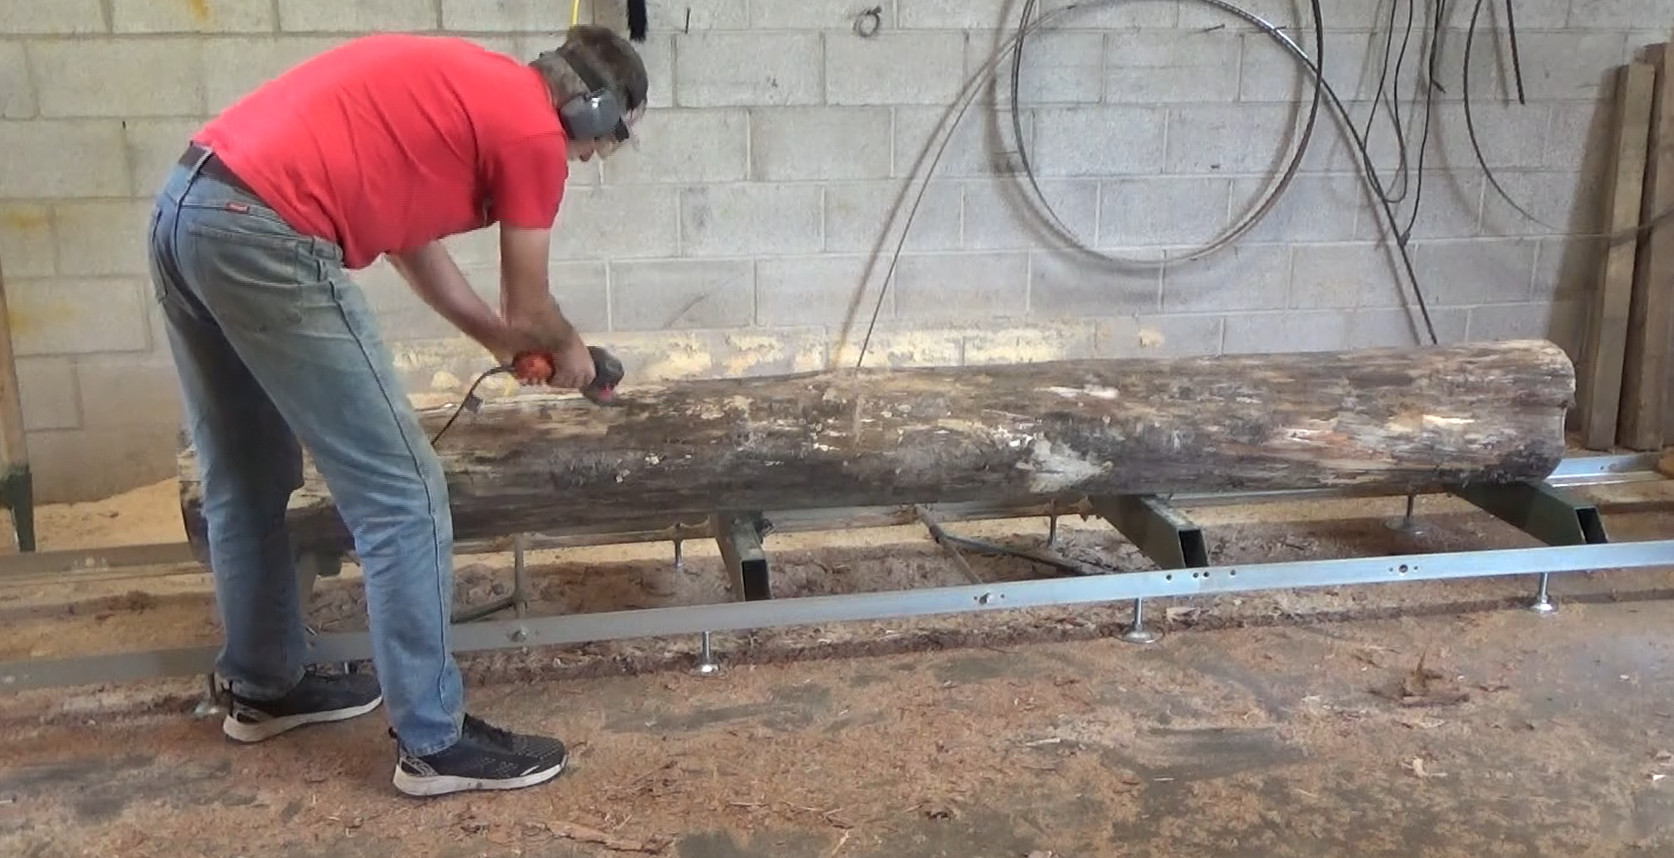
The fastest way I have found to clean up a log before sending it to the sawmill to saw live edge slabs is to use an angle grinder with a wire wheel on it. This is the most effective way I know so far. It also gets you right up and close to the log so you can inspect every single part of it for embedded stones.
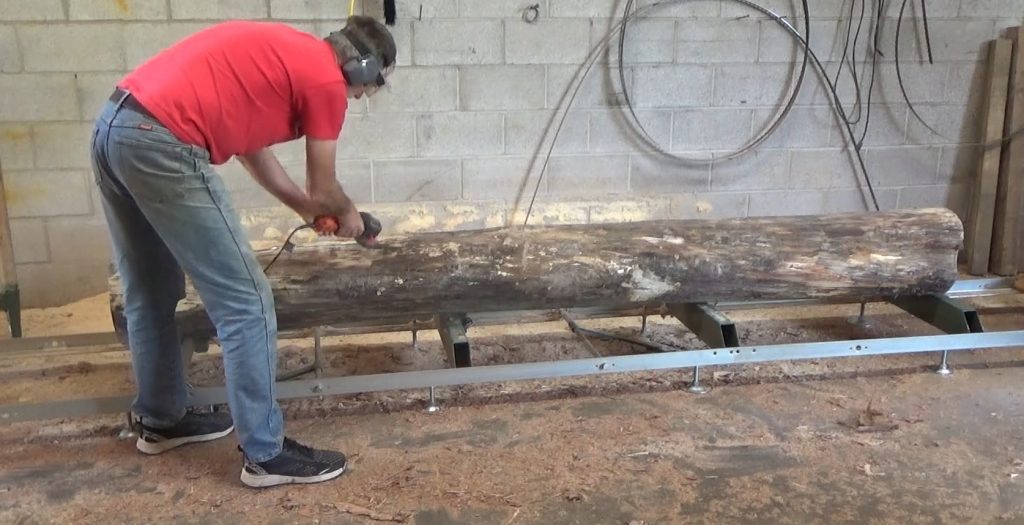
Many mills only clean one side of the log, the side that the blade is entering. But on smaller mills like mine, any bit of dirt will dull the blade. I clean half the log at a time. I clean the front, back and top side as it sits on the sawmill before I run the blade through it. It only takes a couple more minutes to do this using the method shown here.
Once I have it cleaned and inspected then I saw the log into live edge slabs. First I take a pass over the log to remove the round. If the wood is quite beautiful or special this wood is saved for future projects. The next pass takes off a one inch thick piece of wood. This is then sold to crafters and wood shops for their projects.
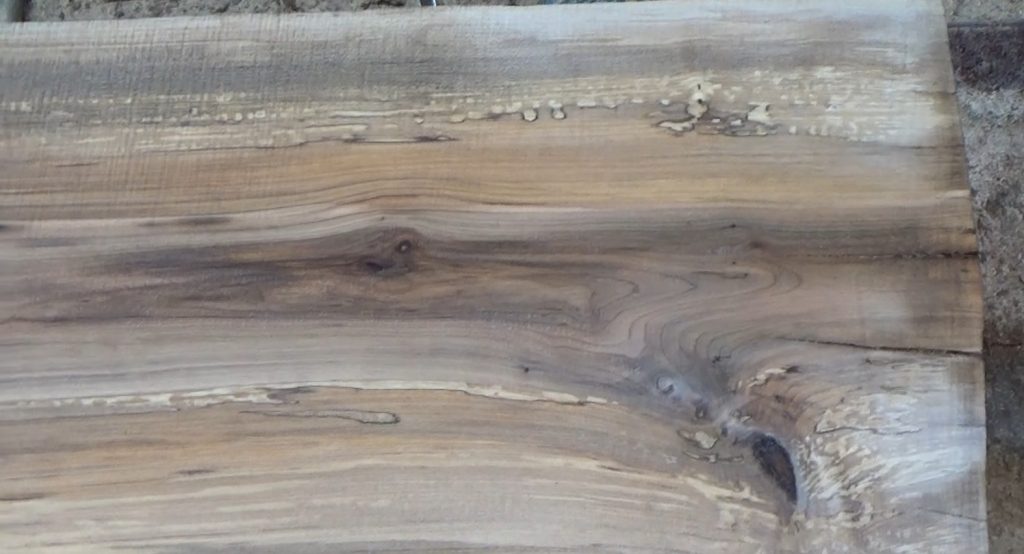
And finally I saw a couple live edge slabs. My slabs are generally just over 2 inches thick. This allows you to plane and sand the live edge slab and still get about a 2 inch slab when finished.
Now I am about to the center of the log. Next I rotate the log on the sawmill, putting the now flat side down on the tracks. And I get out the angle grinder and clean the rest of the log to be sure there is no dirt on it. Any bark at this time can be removed or left in place. The angle grinder does a good job of getting into deep cracks in the bark to clean out dirt that may have settled in.
And then I am free to saw the rest of the log. First the round, then a 1 inch board and finally I saw up the rest of the live edge slabs.
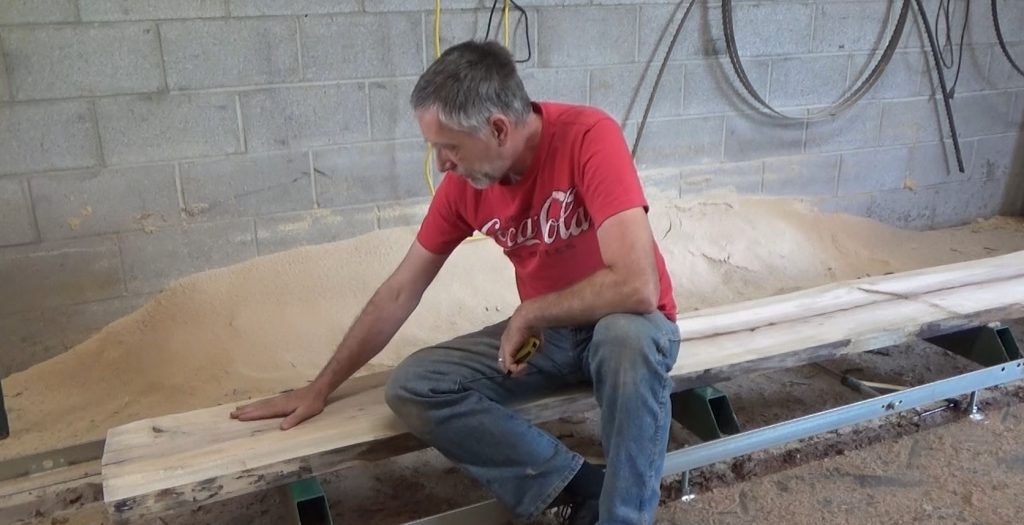
In the end I am left with a single 2 inch thick live edge slab on the sawmill.
Watch the full video on our YouTube channel:
Come on out and visit Country Wood Products at the old Permalog Warehouse in Mio Michigan. Right on M33 just South of Mio.
